I love flowers…as a kid, I would beg my mom when she was buying vegetable seeds for the garden to add in some flower packets so I could grow some for myself. I remember faithfully watering my bachelor buttons and watching them bloom over the summer.
My grandma grew tons of diffrent kinds of flowers, and I loved going to her farm and picking bunches of them and then trying to make floral arrangements.
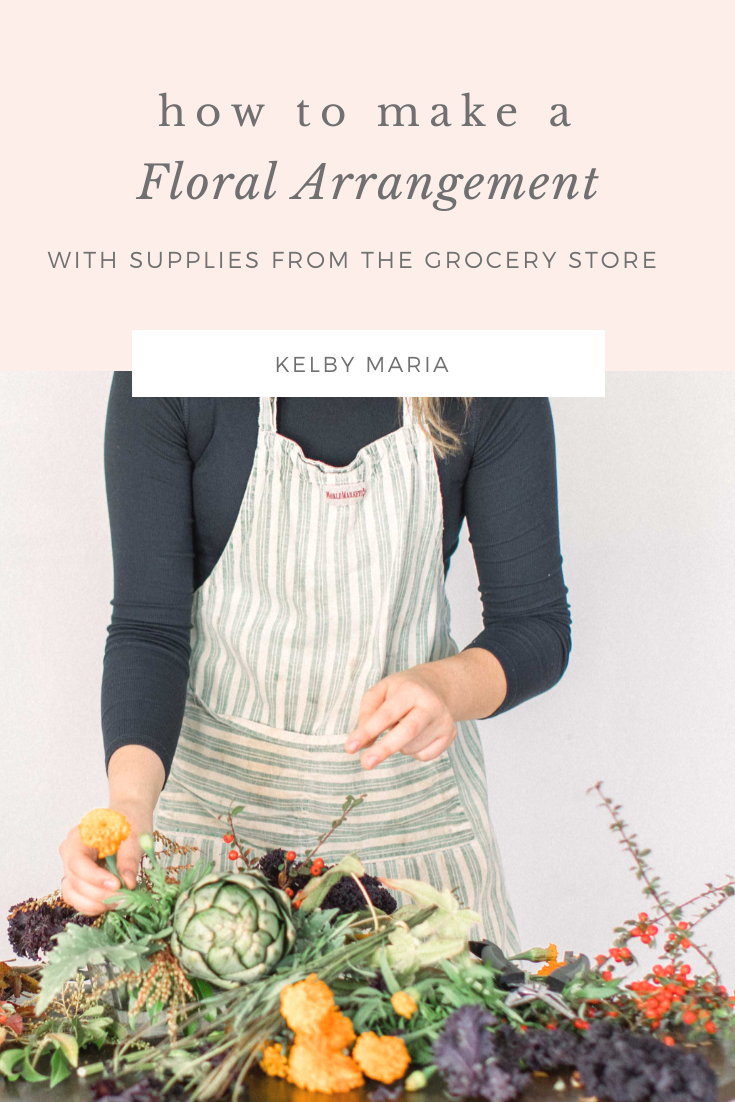
As you can tell, I love playing with flowers so I reached out to one of my favorite florists, Kim with Swoon Floral Design here in Portland for some tips on making floral arrangements at home! Before you go any further, do yourself a favor and go check out her work – you will certainly be inspired as her arrangements are so elegant!! Oh, and be sure to give her a follow on Instagram (you’ll fall in love with her cute little family too)!
Her advice is perfect for people like you and me who like to try new things or have a desire to make something pretty for home!
- Choose flowers and greens in a variety of textures, sizes, and shapes (a variety of color too, unless you are going for something monochromatic).
When I’m making an arrangement I always try to have a variety. Roses or hydrangea for something big and fluffy, dahlias for something more symetrical, stock for something linier, berries for a fun texture, ranunculus to add some whimsy, etc.
If you want to add something more unique to your arrangement, cut branches and other fun foliages from your yard!
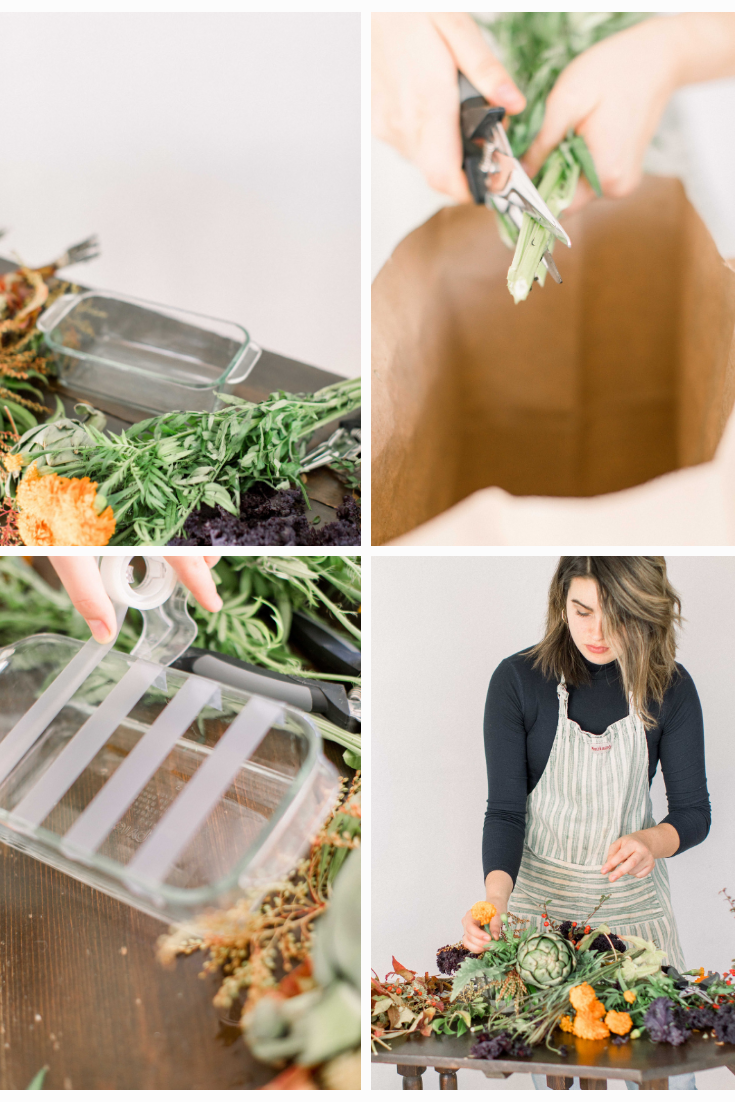
- Prep your stems! This is an important step that it seems most people skip, but it will make your flowers last way longer! Strip thorns and leaves from the flowers. You don’t want any leaves touching the water because it creates bacteria and other stuff that makes your flowers die sooner.

- Fill your vase or container about ¾ full of clean, cool water (make sure you vase is clean too). If you are working with a shallow vase you can create a grid with clear tape across the top or a ball of chicken wire in the vase to help your stems stay in place better.
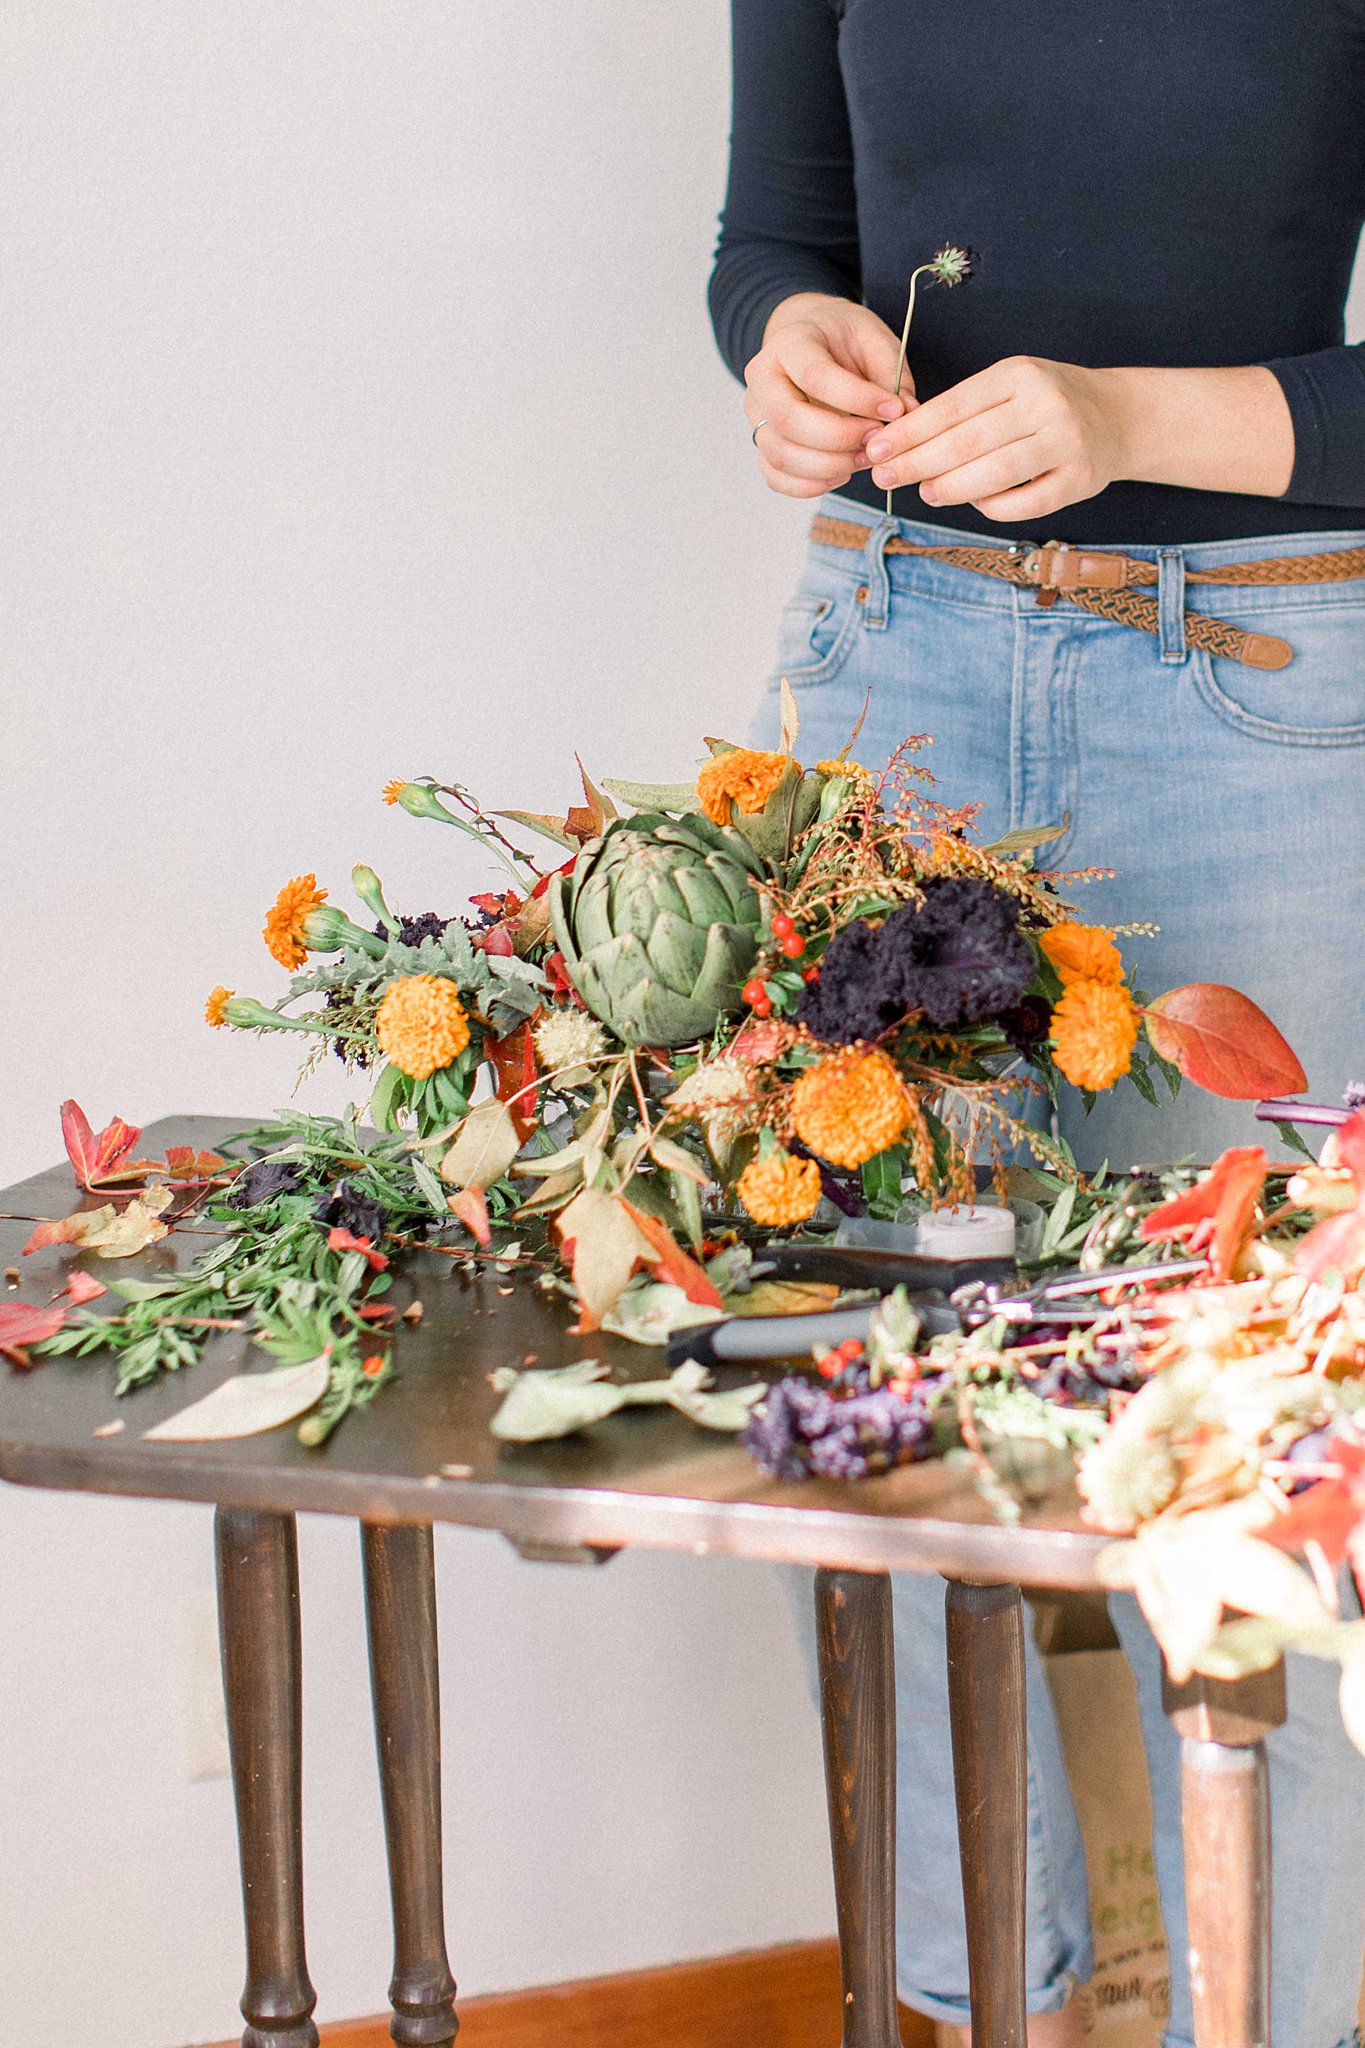
- I start with greenery and create a “base.” It helps with create the size and shape of the arrangement before adding in the flowers. I don’t think there is necessarily an order to place stems…that’s the fun part be creative! My only tip would be to add the delicate blooms last so they don’t get squished and crushed (think ranunculus, tulips, cosmos, etc.)
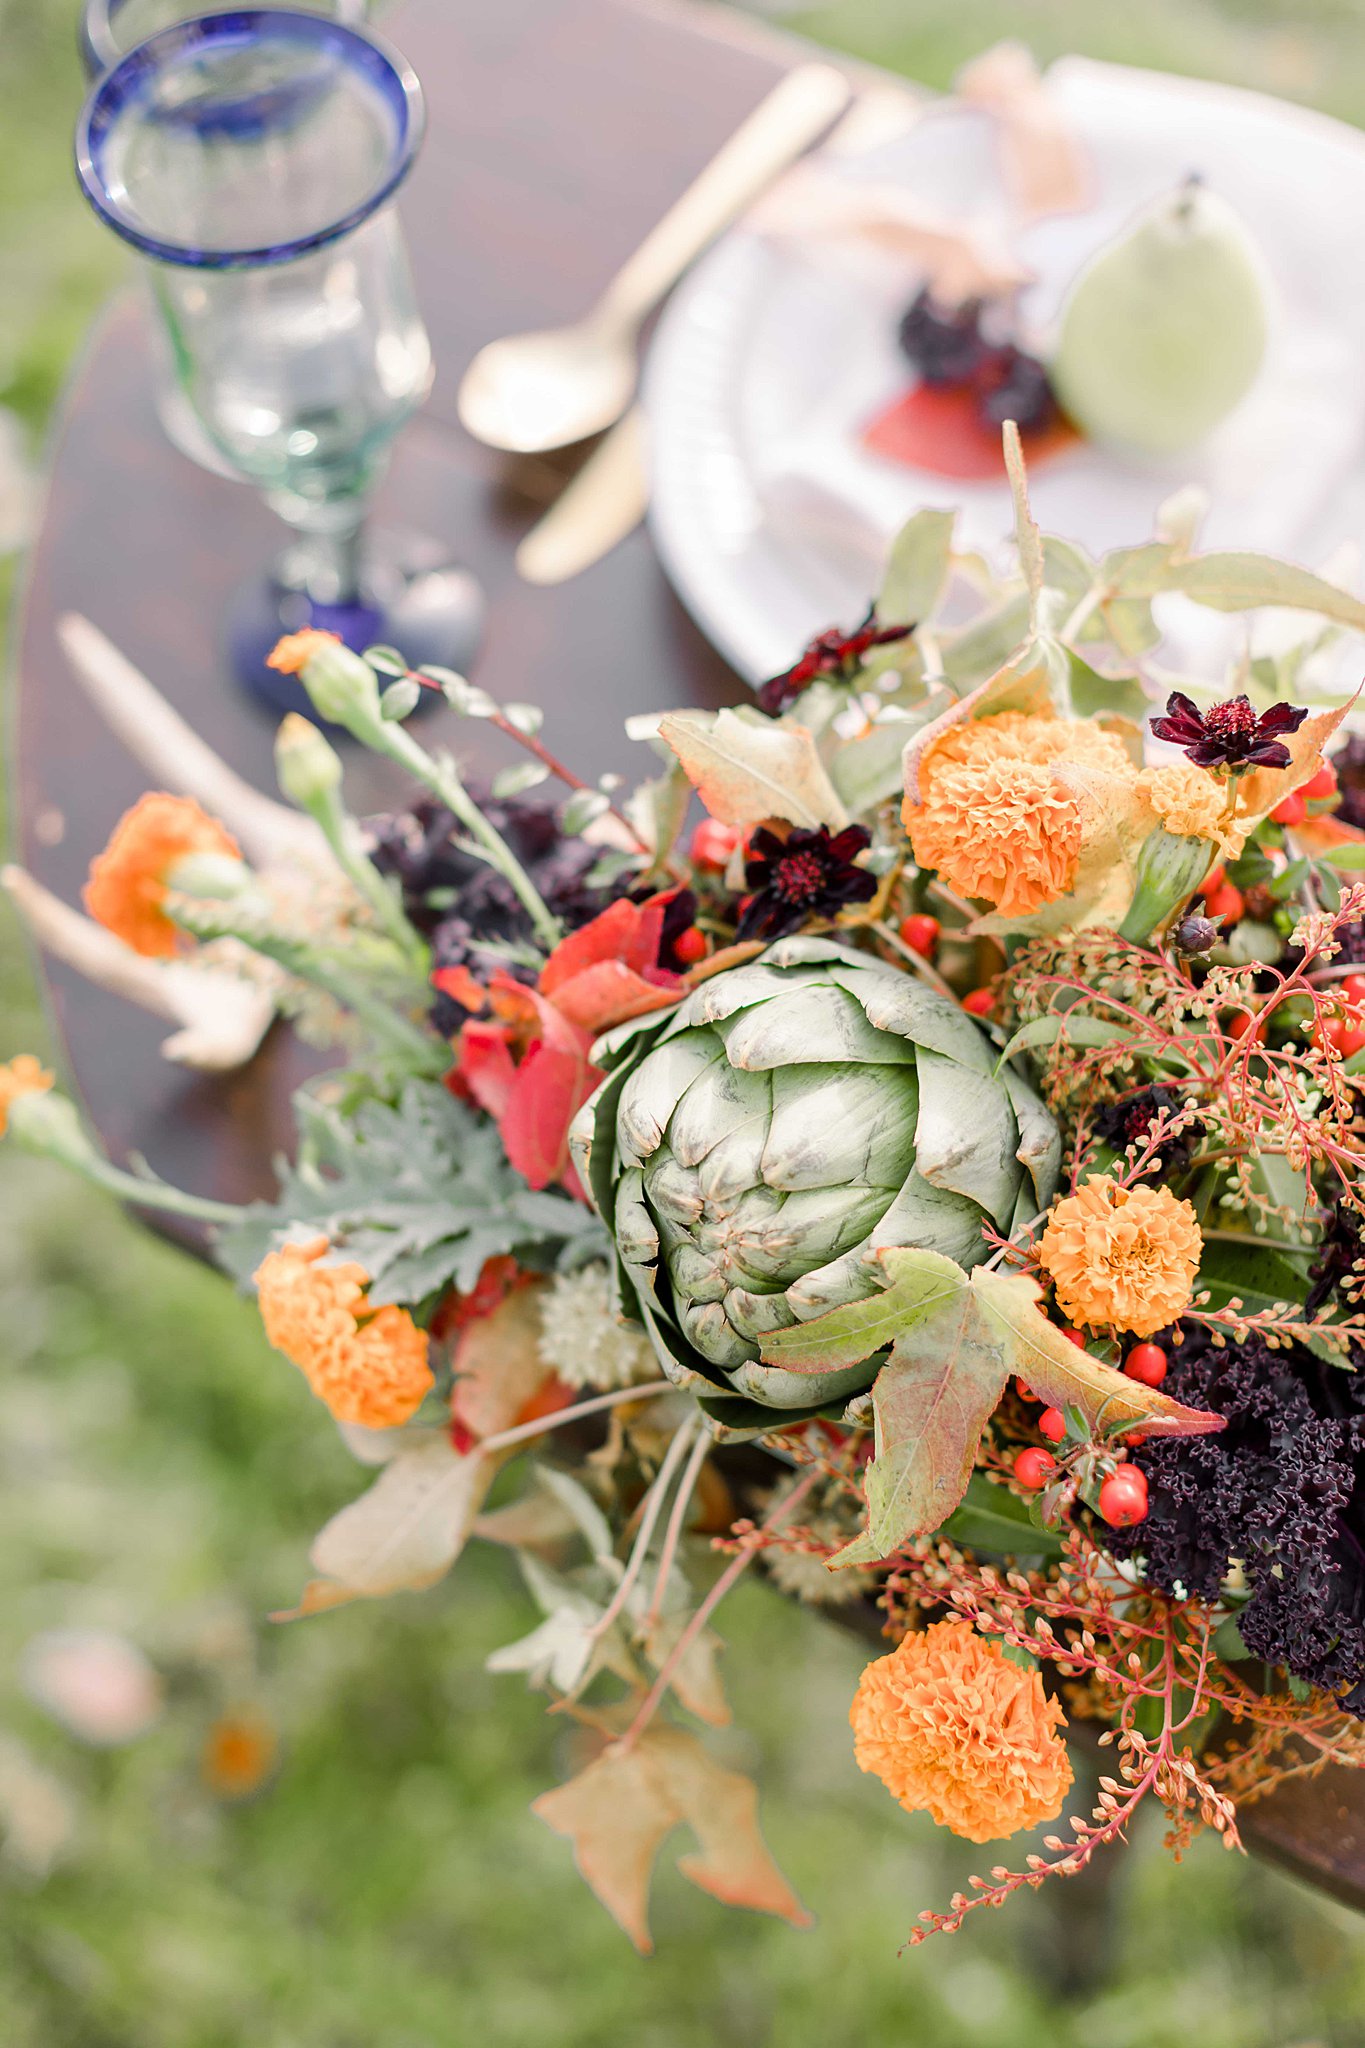
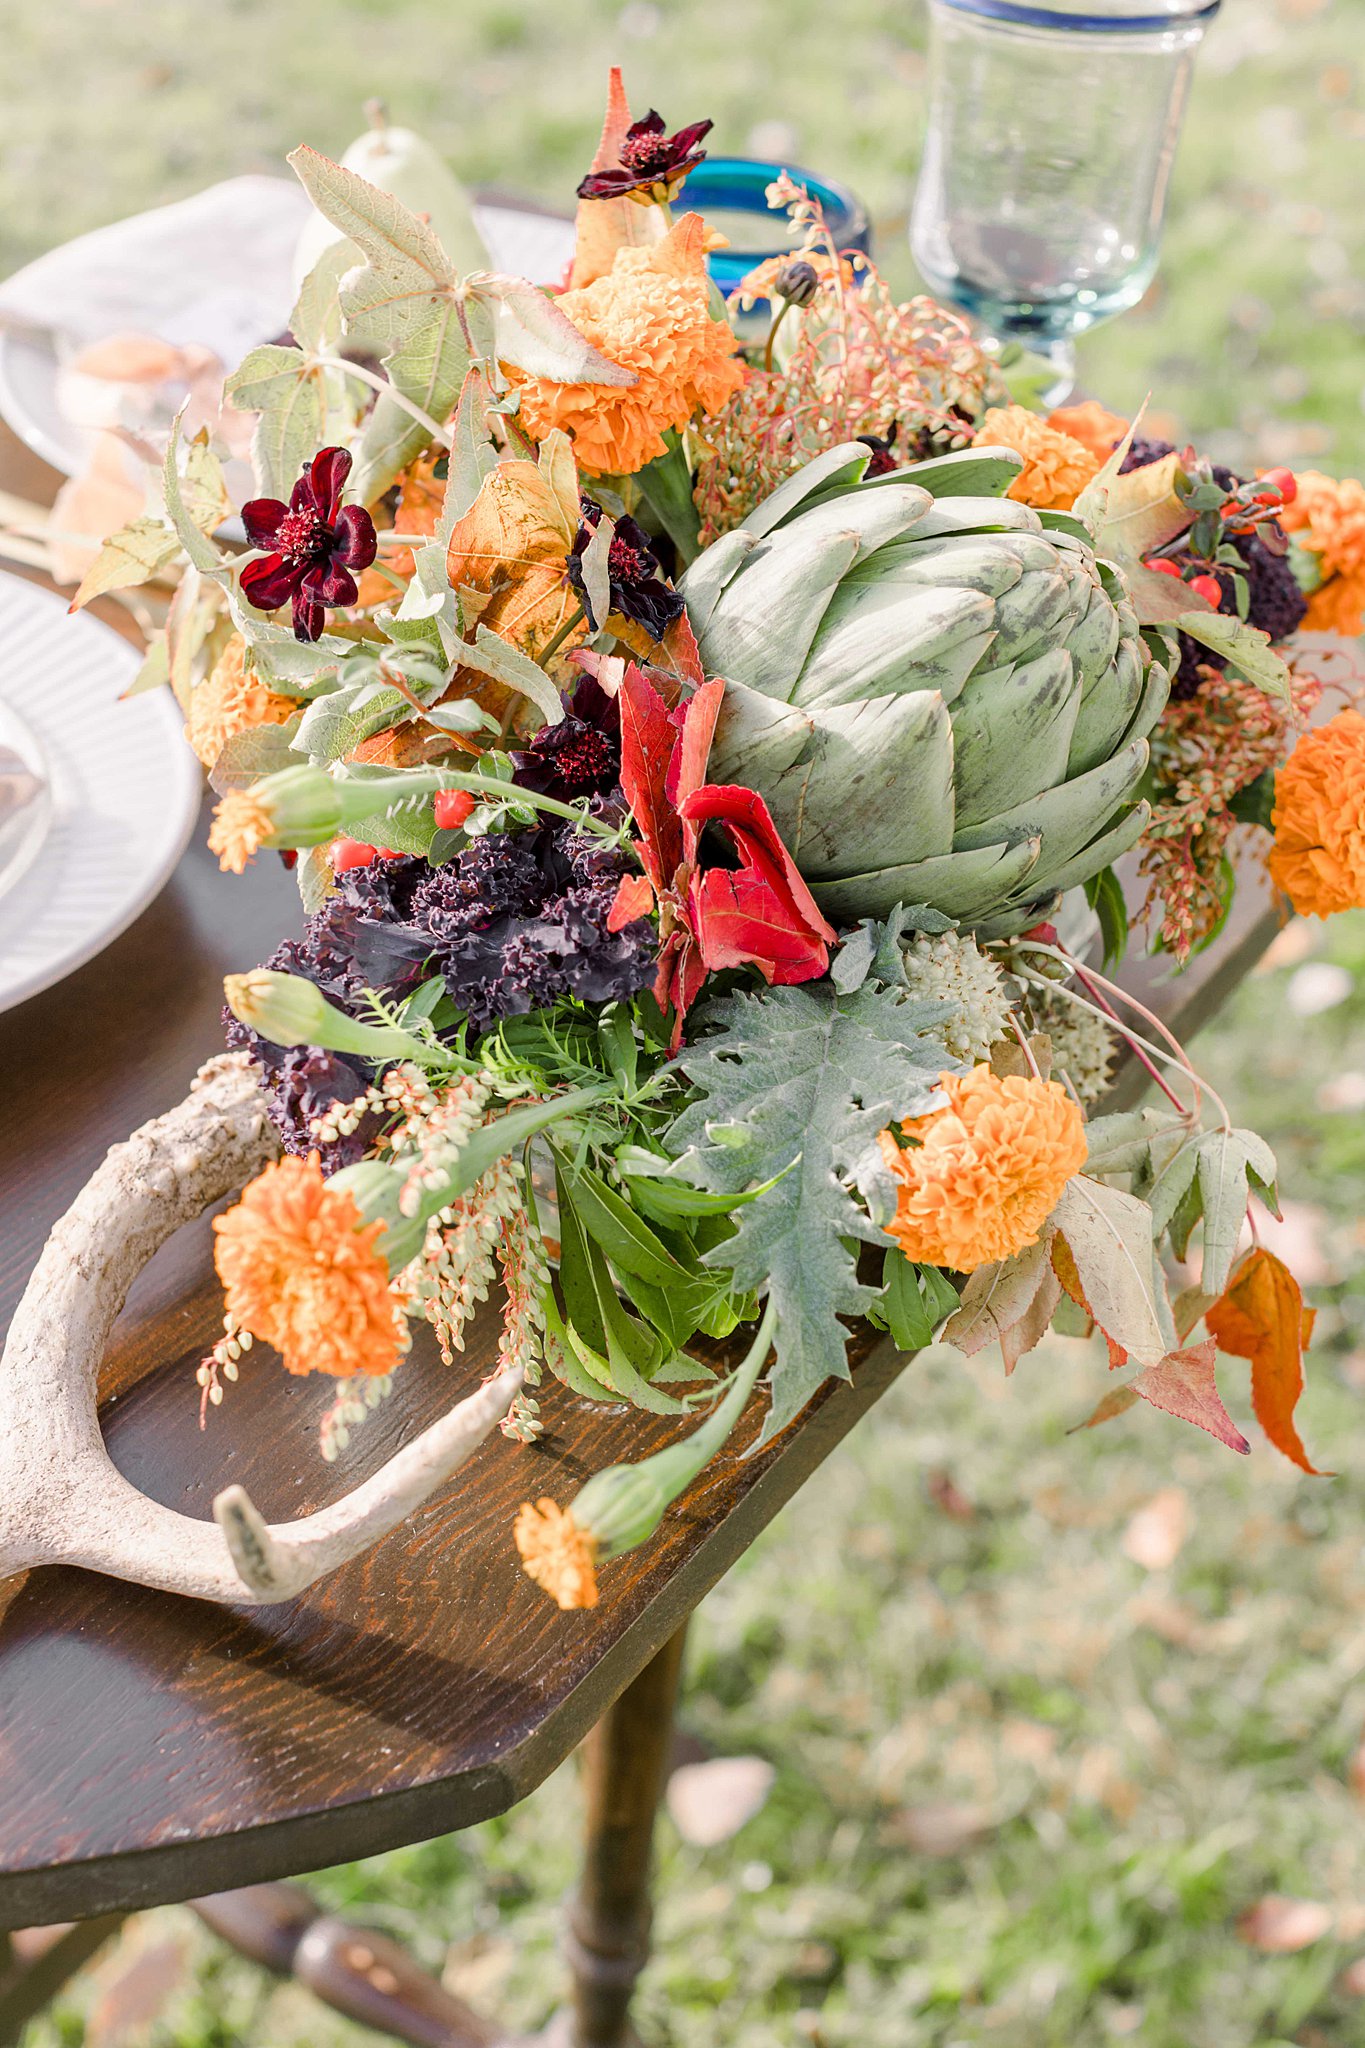
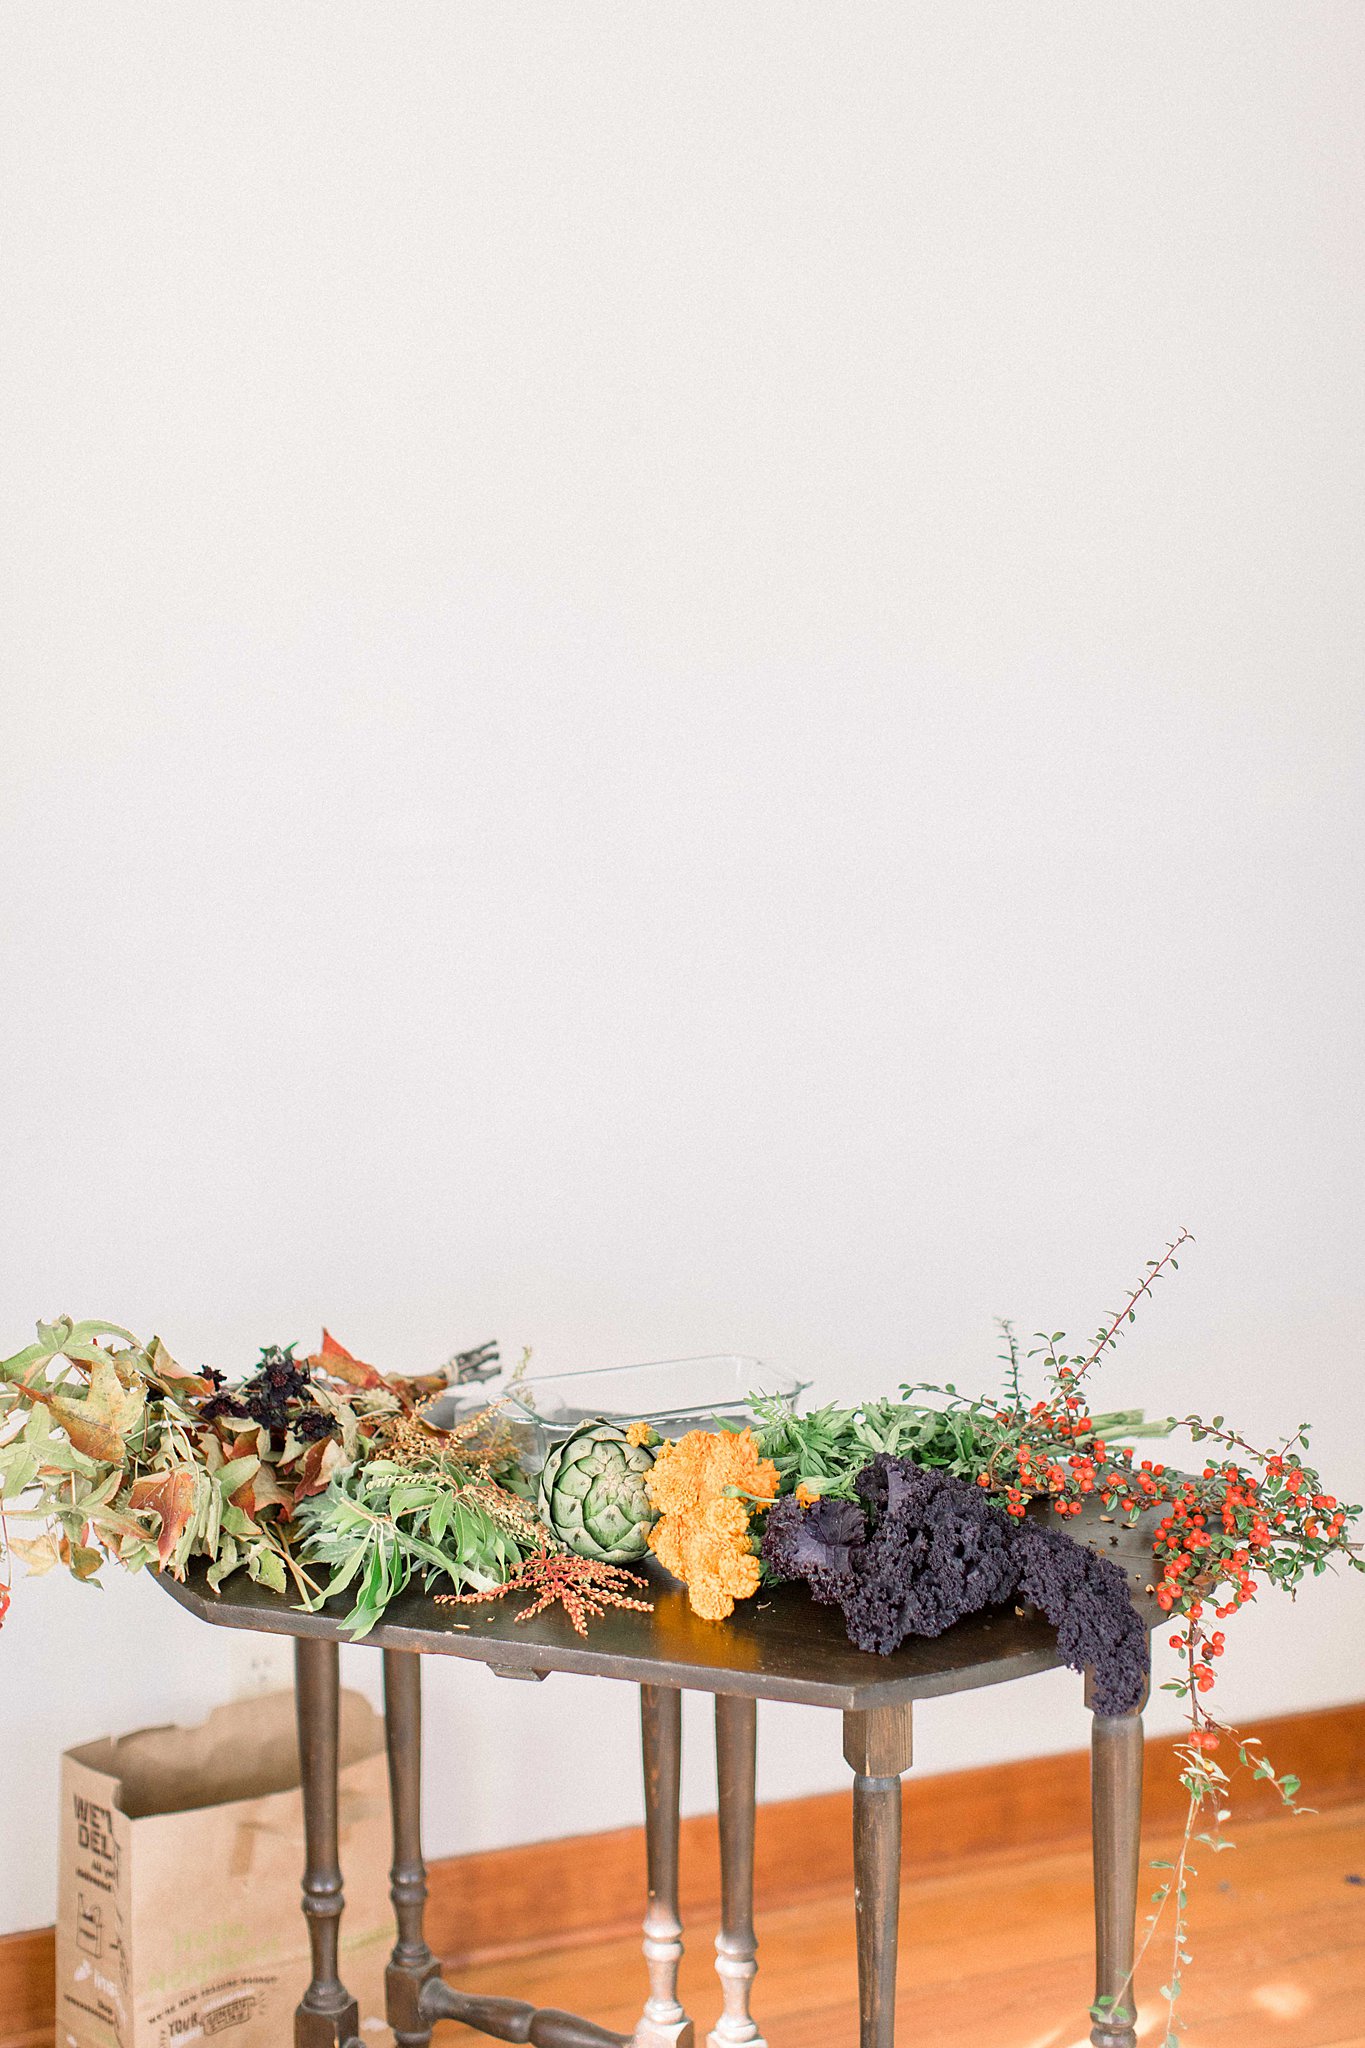
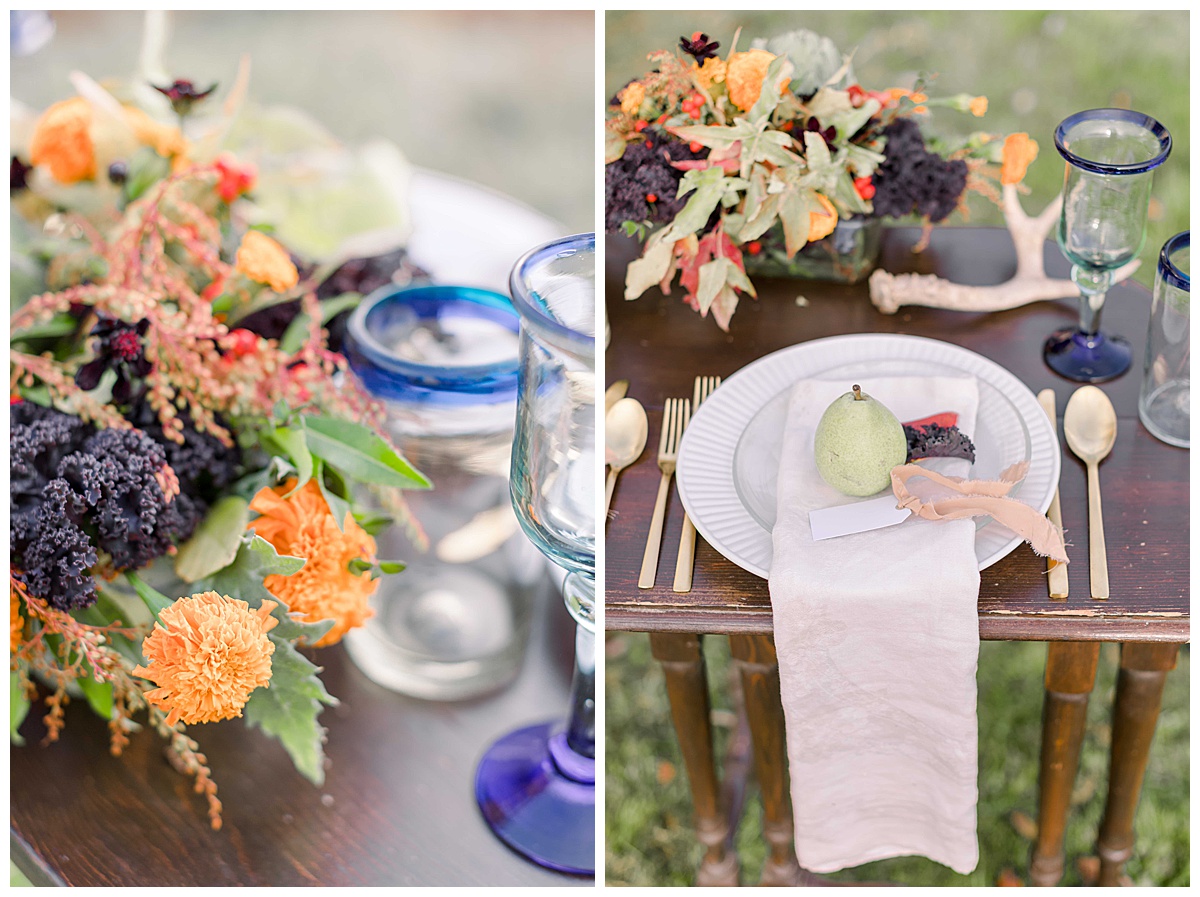
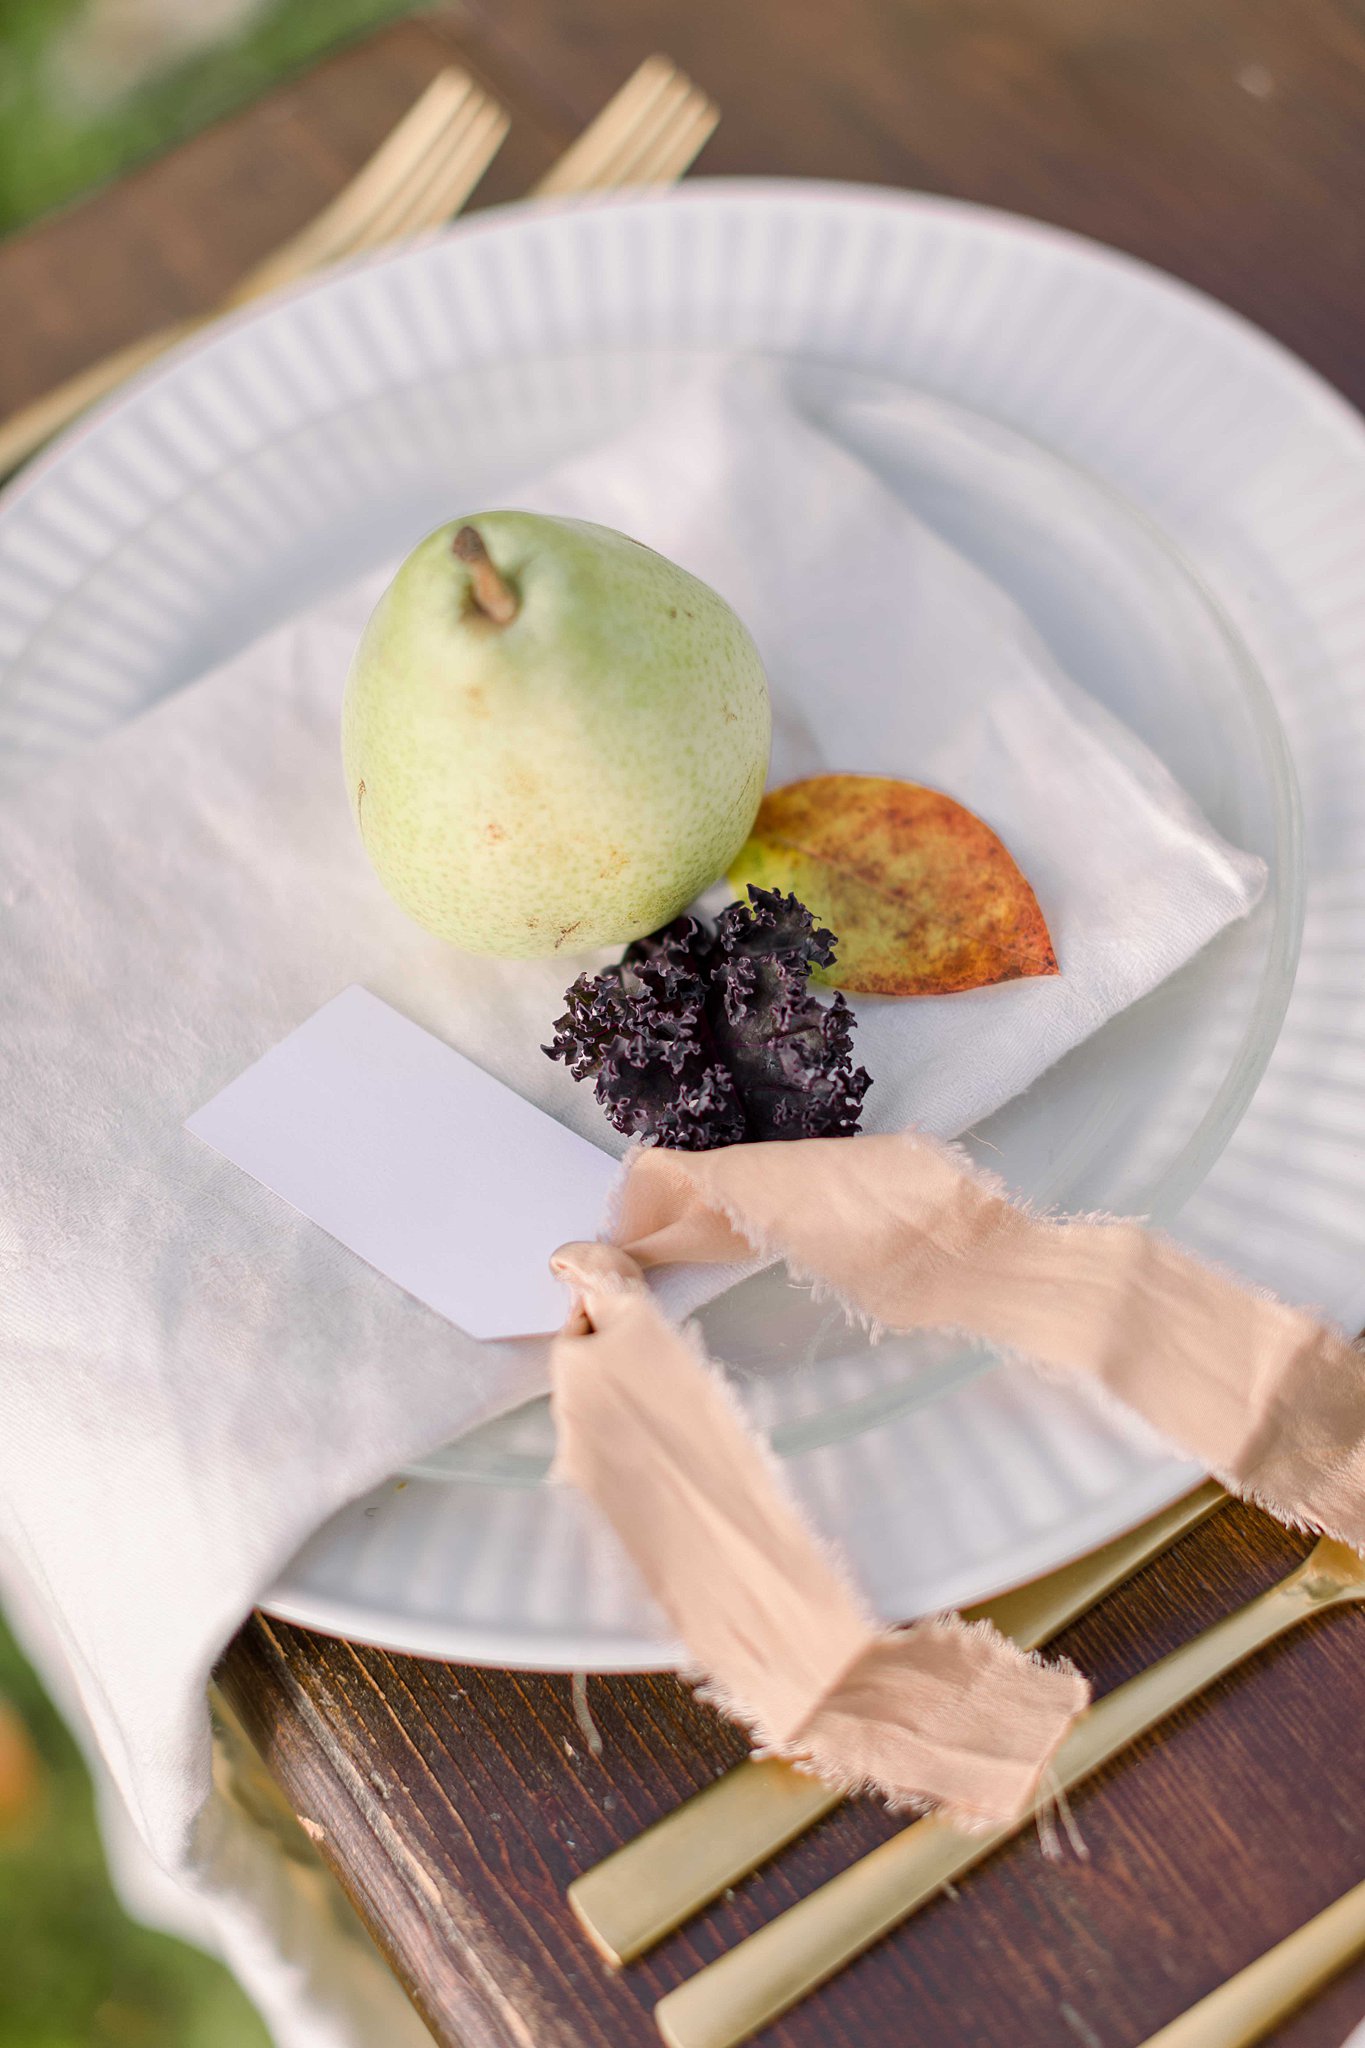
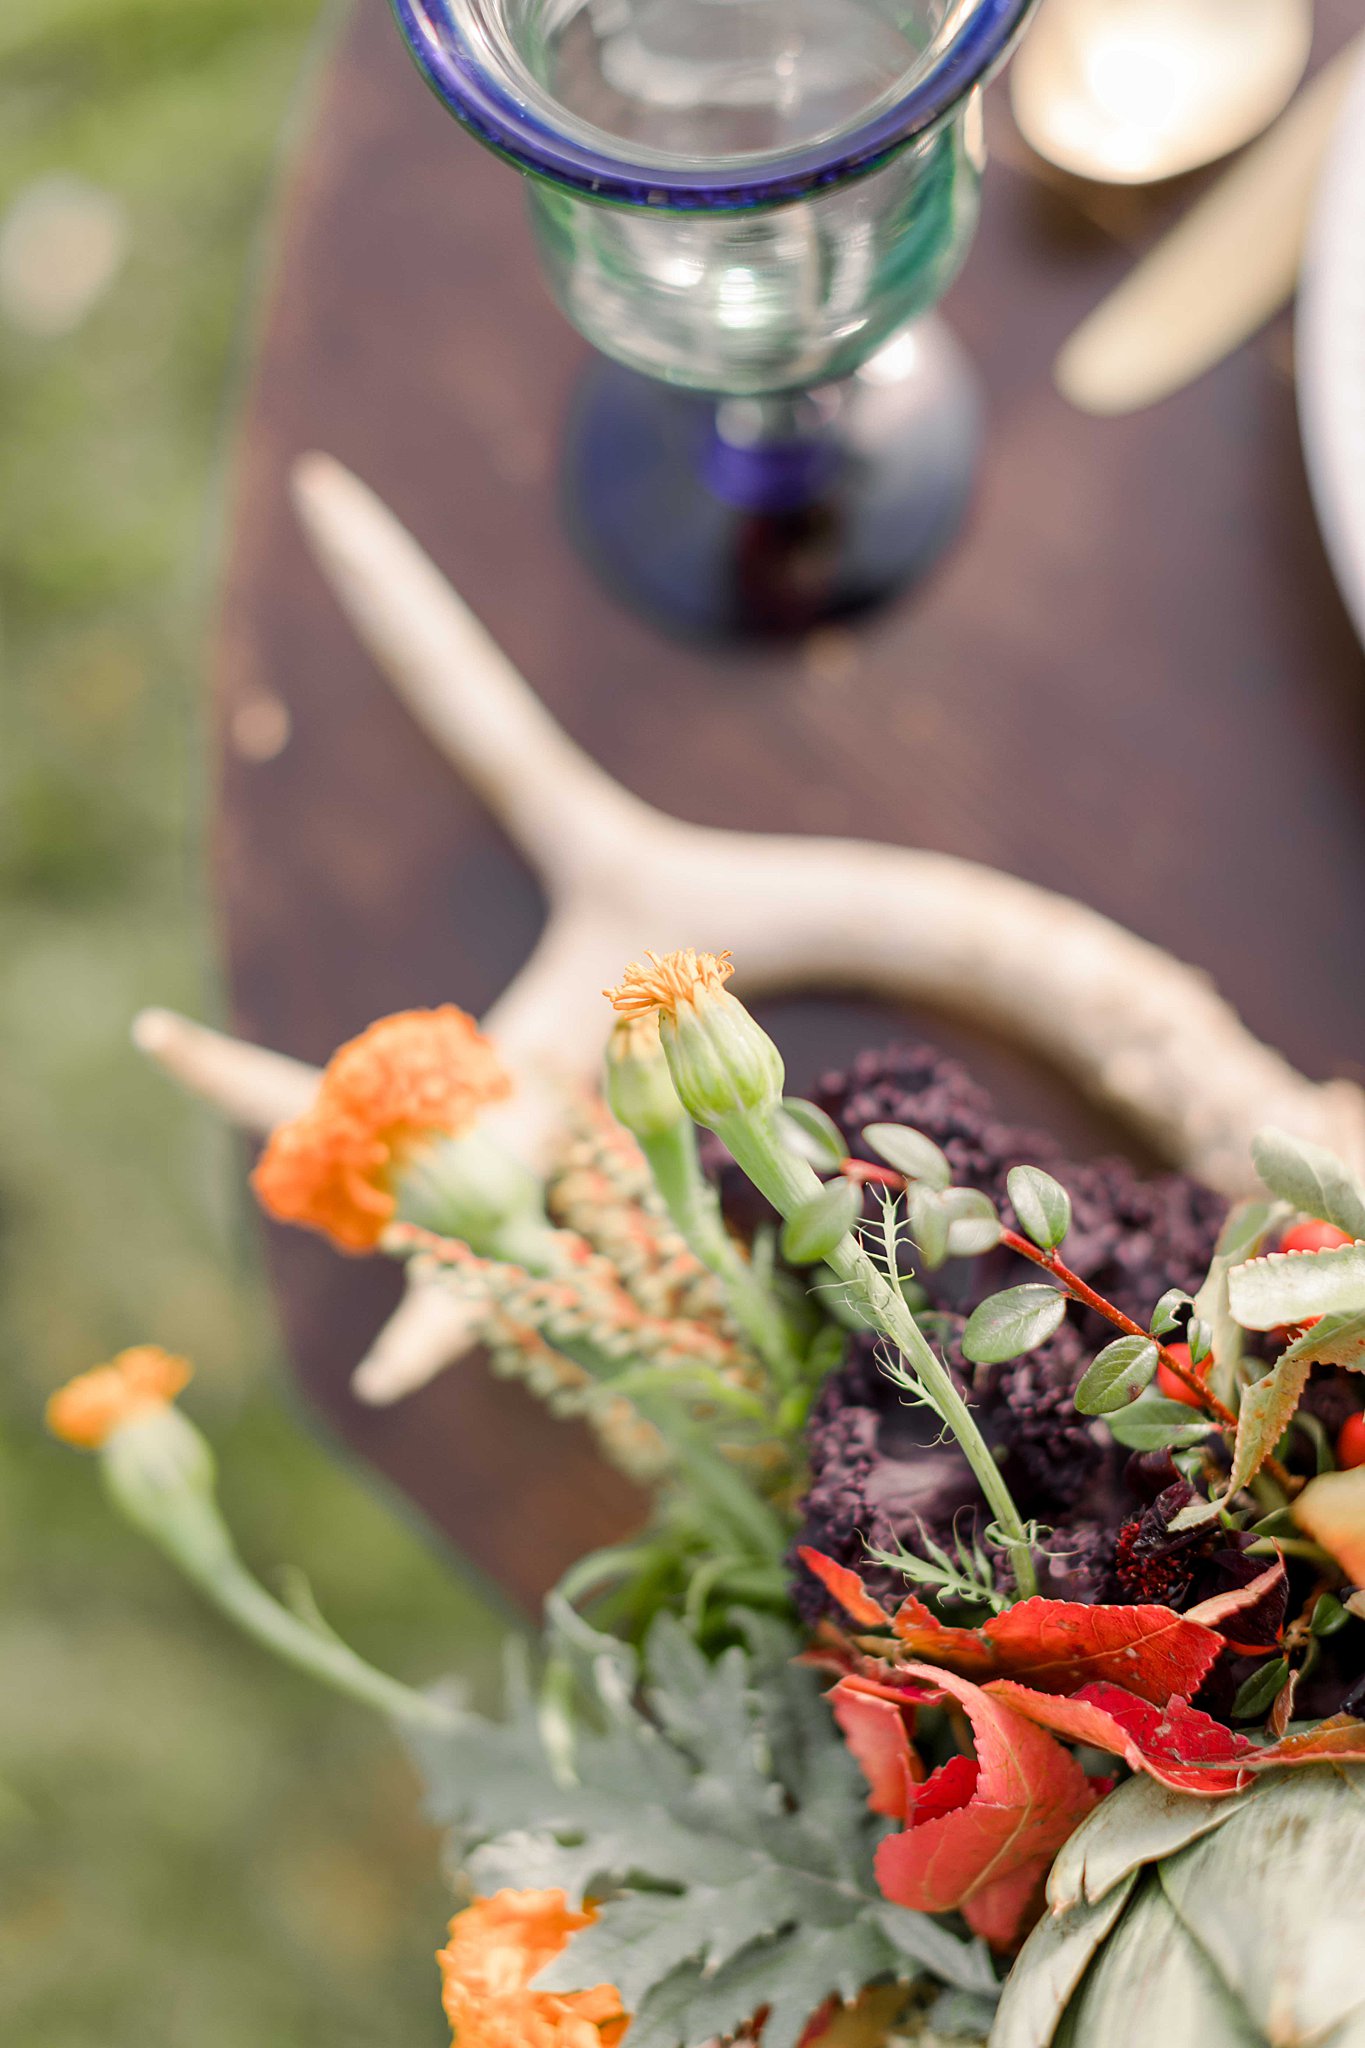
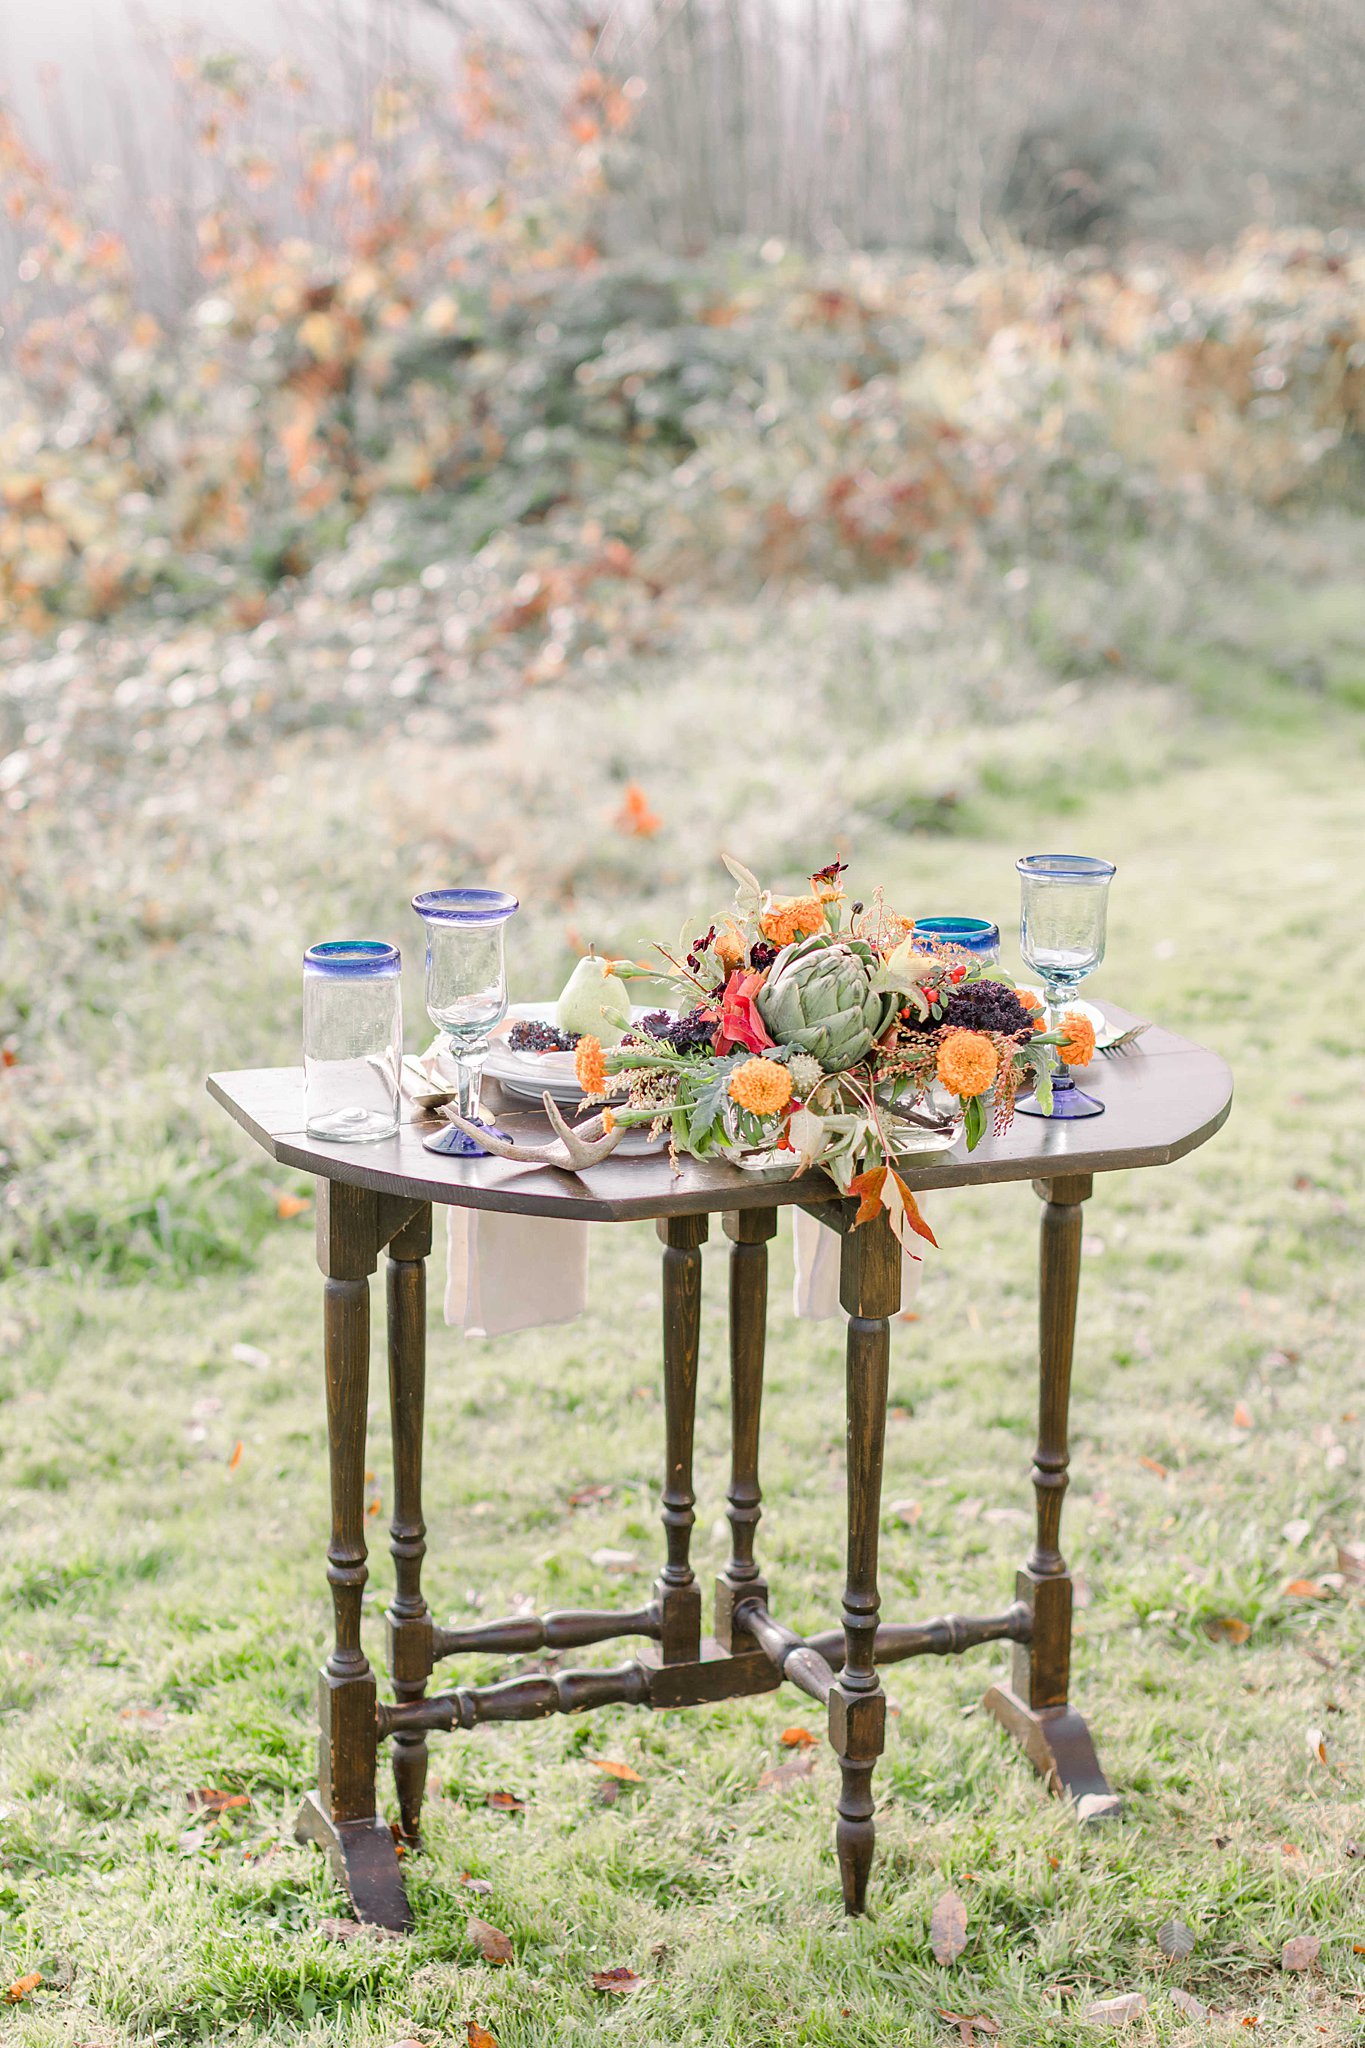
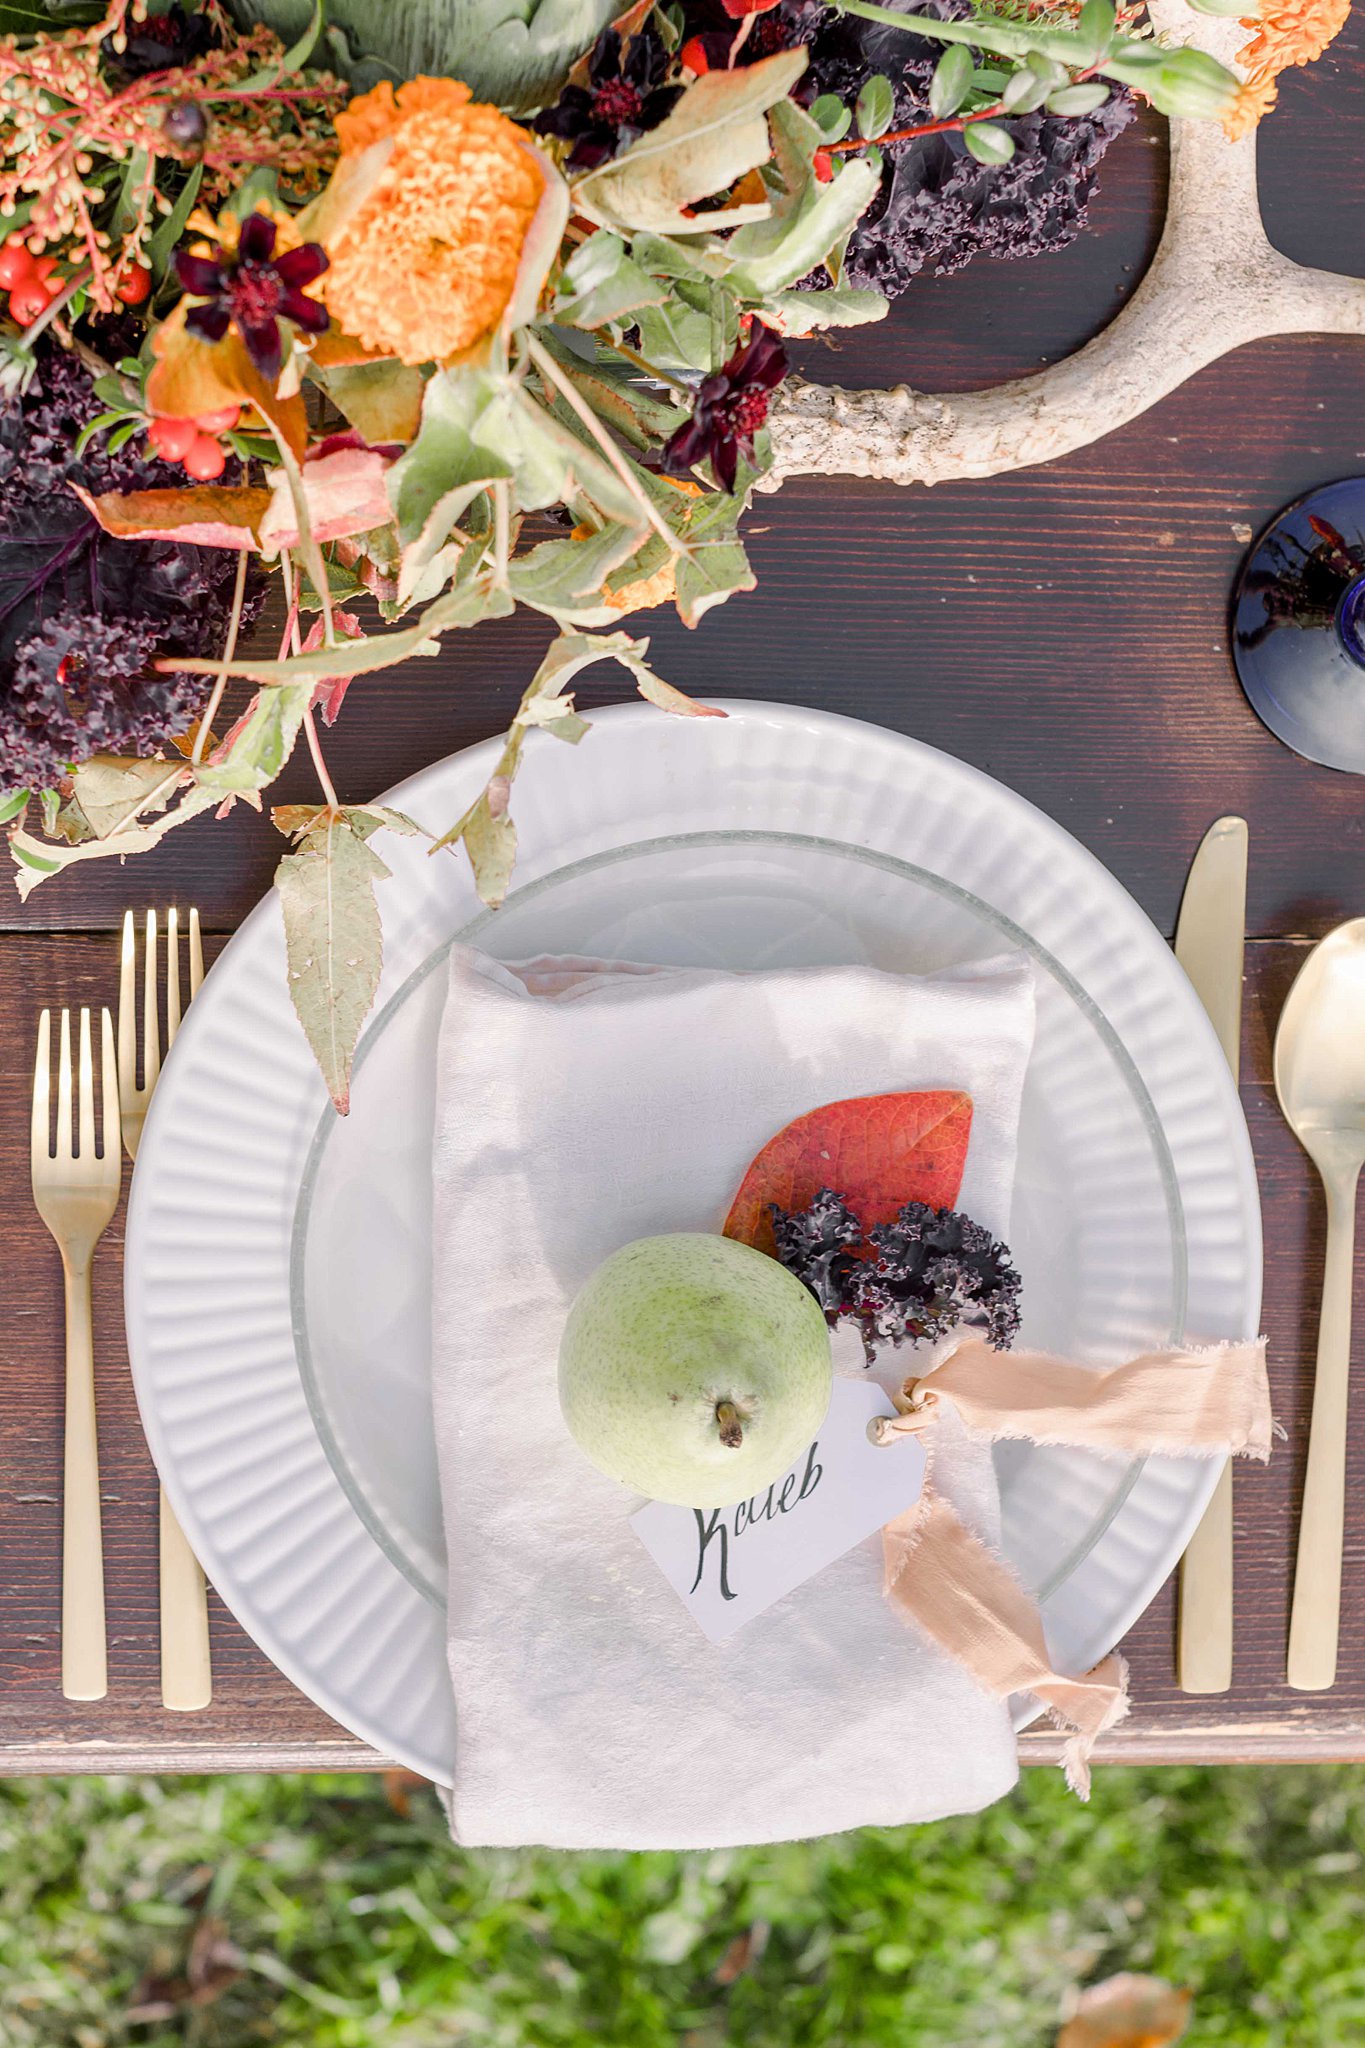
Heading to my local Newseasons I spent some time selecting my blossoms and because I used what was in season, I went with more of a fall vibe. I also went to the produce section and picked out some purple kale and artichoke to incorporate in my arrangement to add some fun interest and texture! 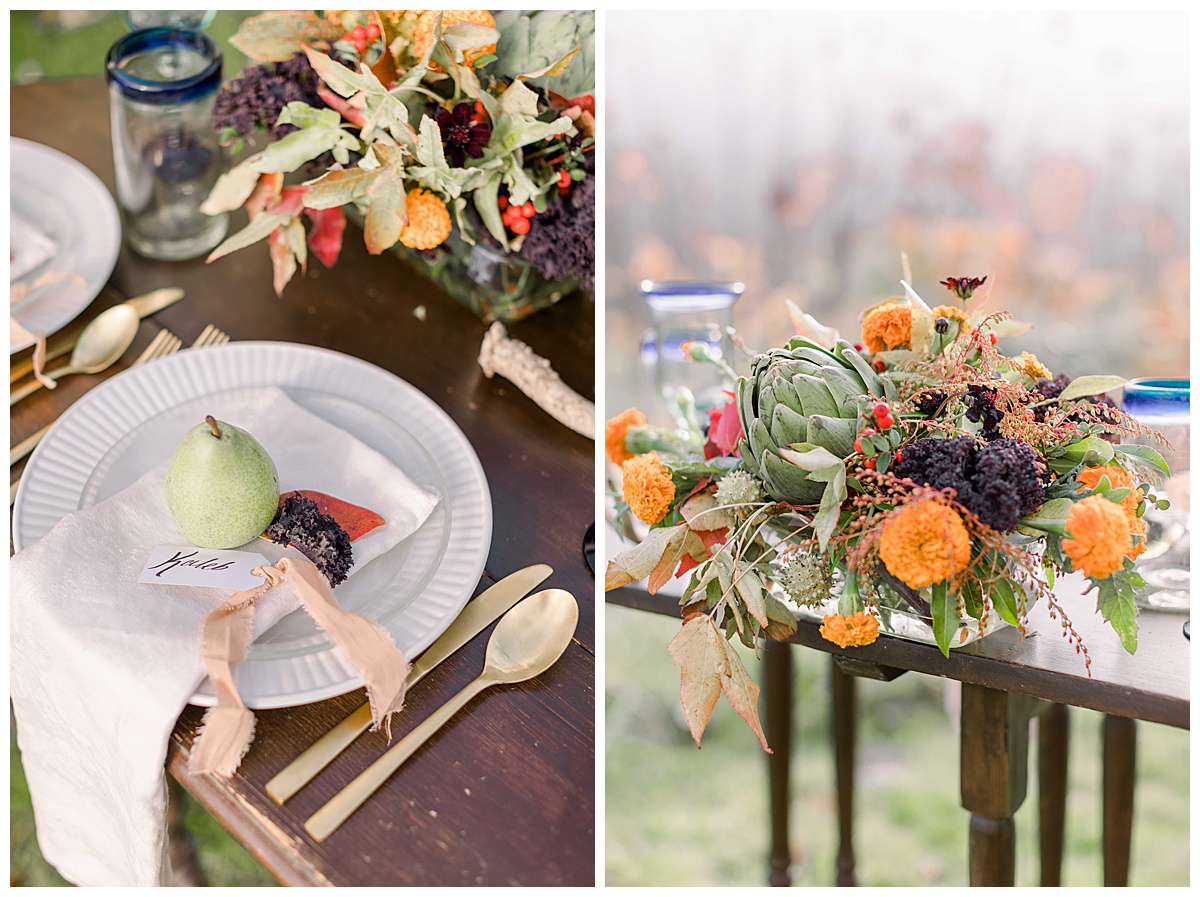 Taking Kim’s suggestion I brought in some foliage and berries from my yard as options for my arrangement. Wanting a low centerpiece, I went with a clear glass bread pan for my base. The hardest part was getting the artichoke to stay in place, but with having my tape firmly in place it made it a bit easier.
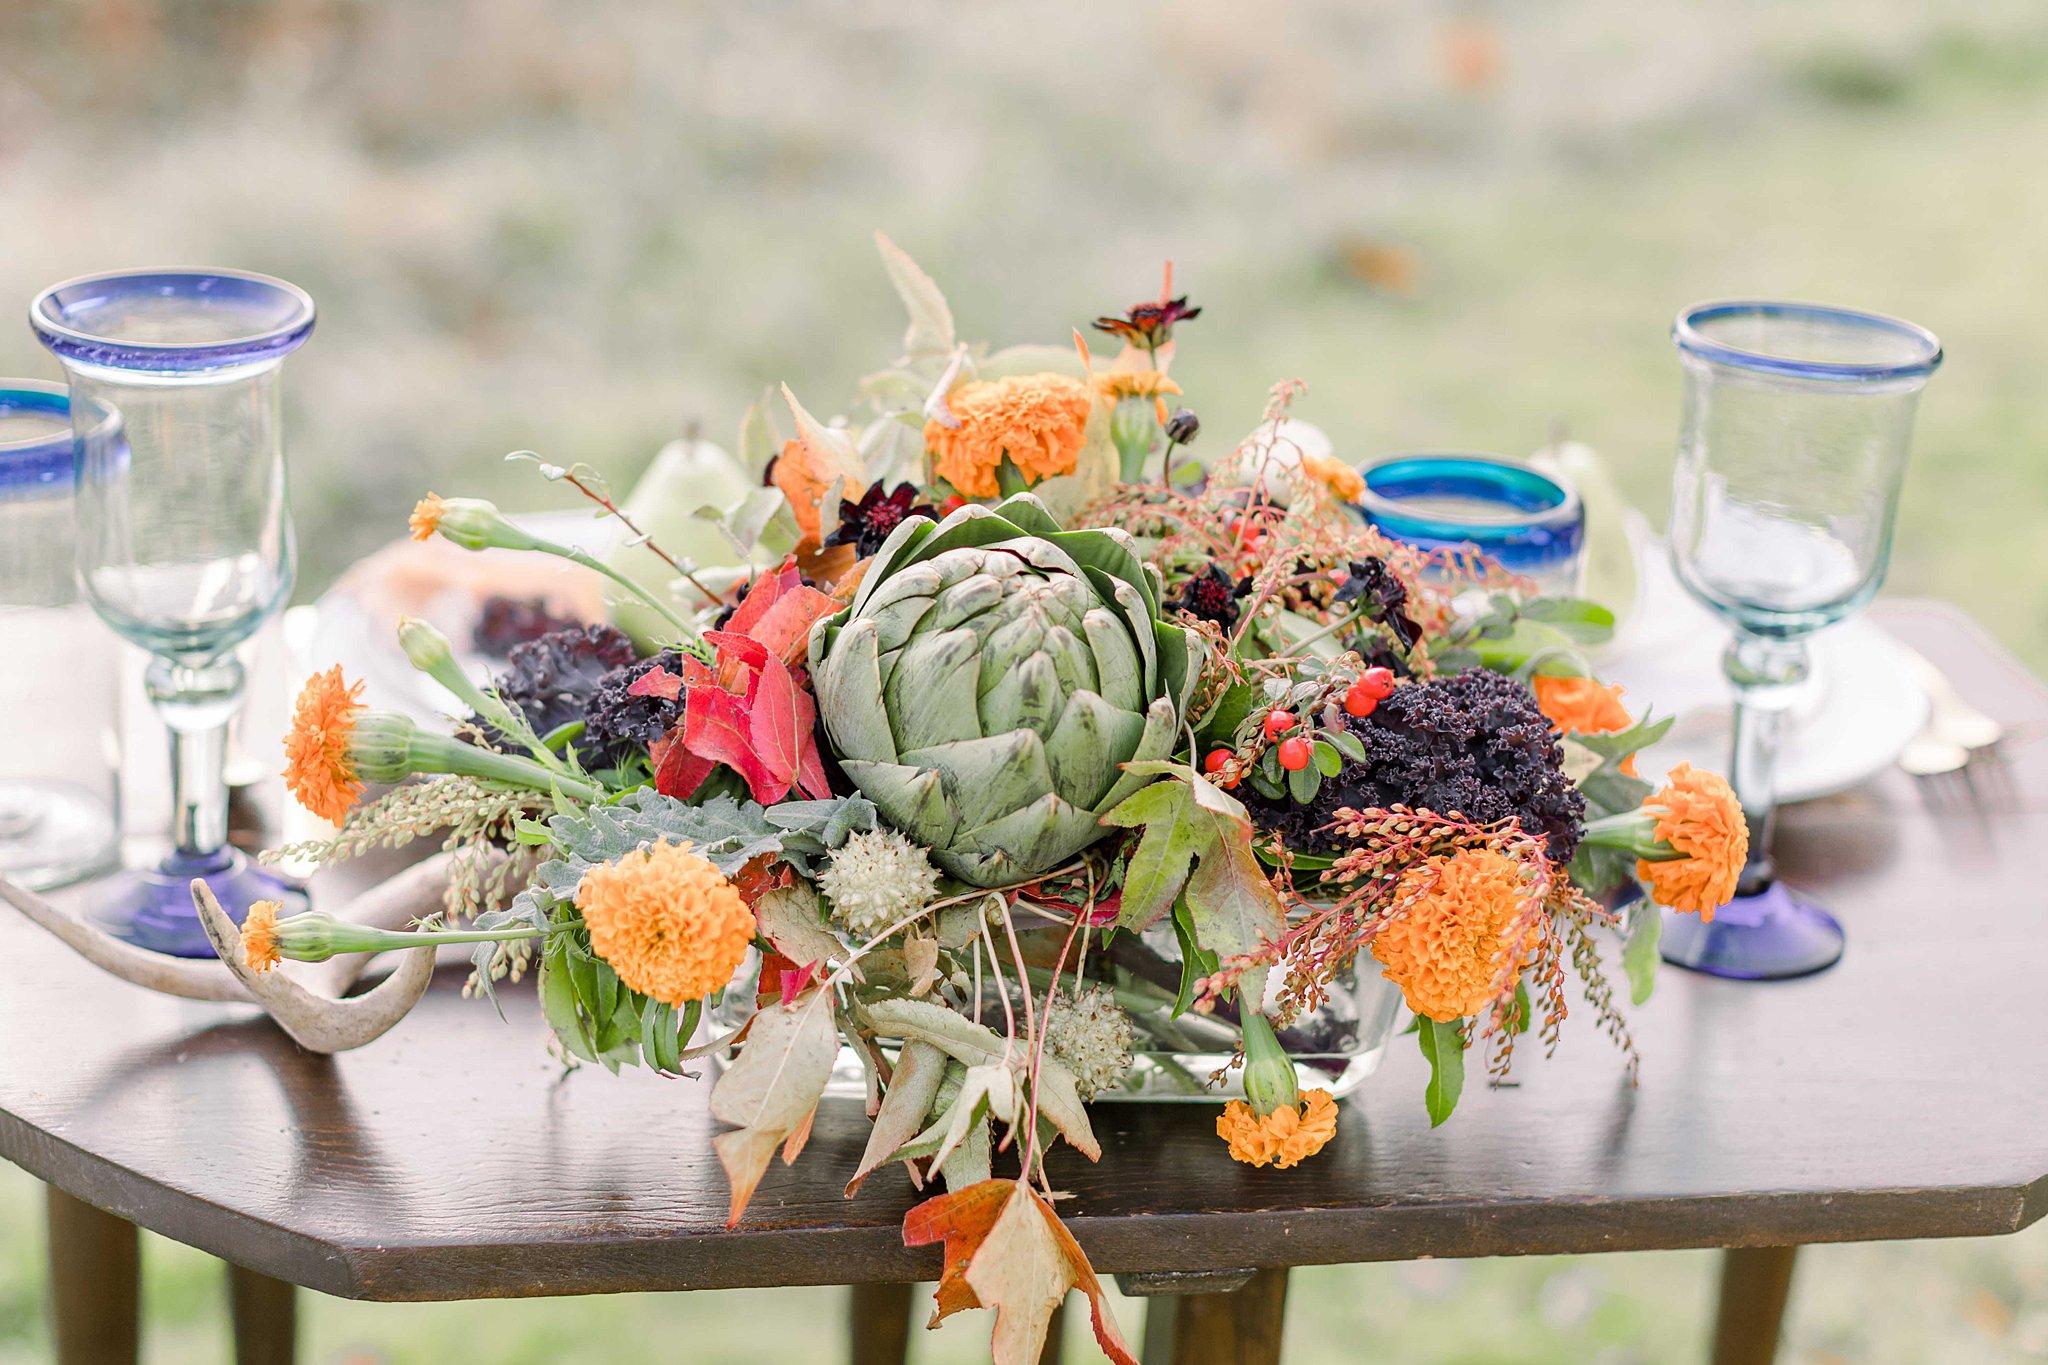
I’m super happy with how the floral arrangement turned out, the only changes I would make is to not have to fill every single little nook with greenery. It felt a little too stuffed, so next time I’m going to focus on making my arrangement a bit lighter! 
I’m looking forward to trying my hand at making more floral arrangements in the future using Kim’s tips, and hope you try your hand at this as well!! 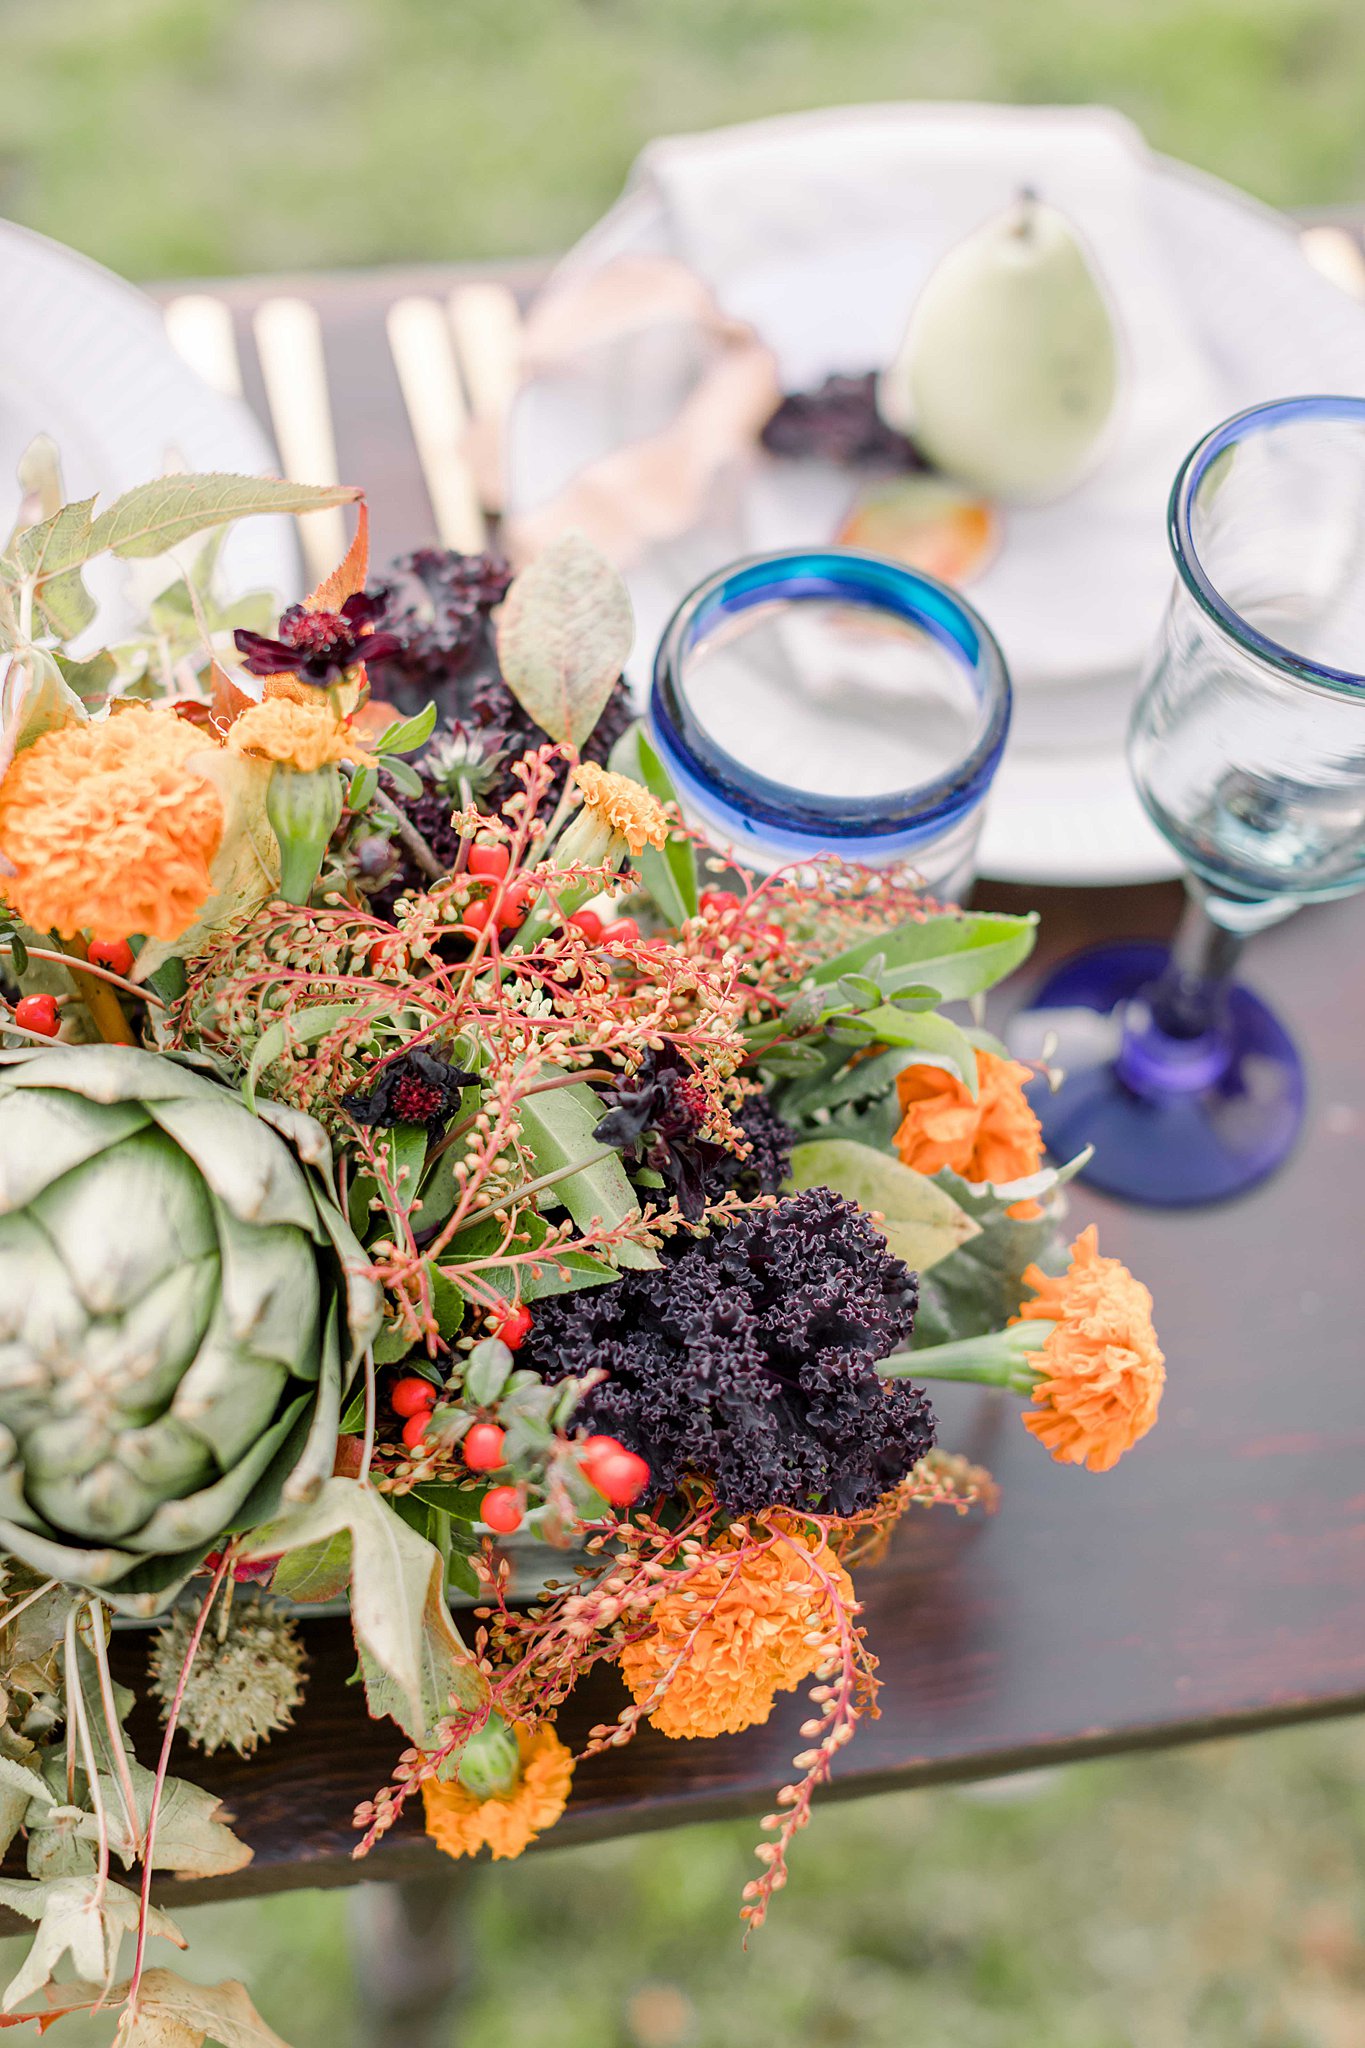


comments +